
|
-------------------------------------------------------.::. chibi models .::. military vehicles .::. automobiles .::. aircrafts .::.
miscellaneous .::.---------------------------------------------- |
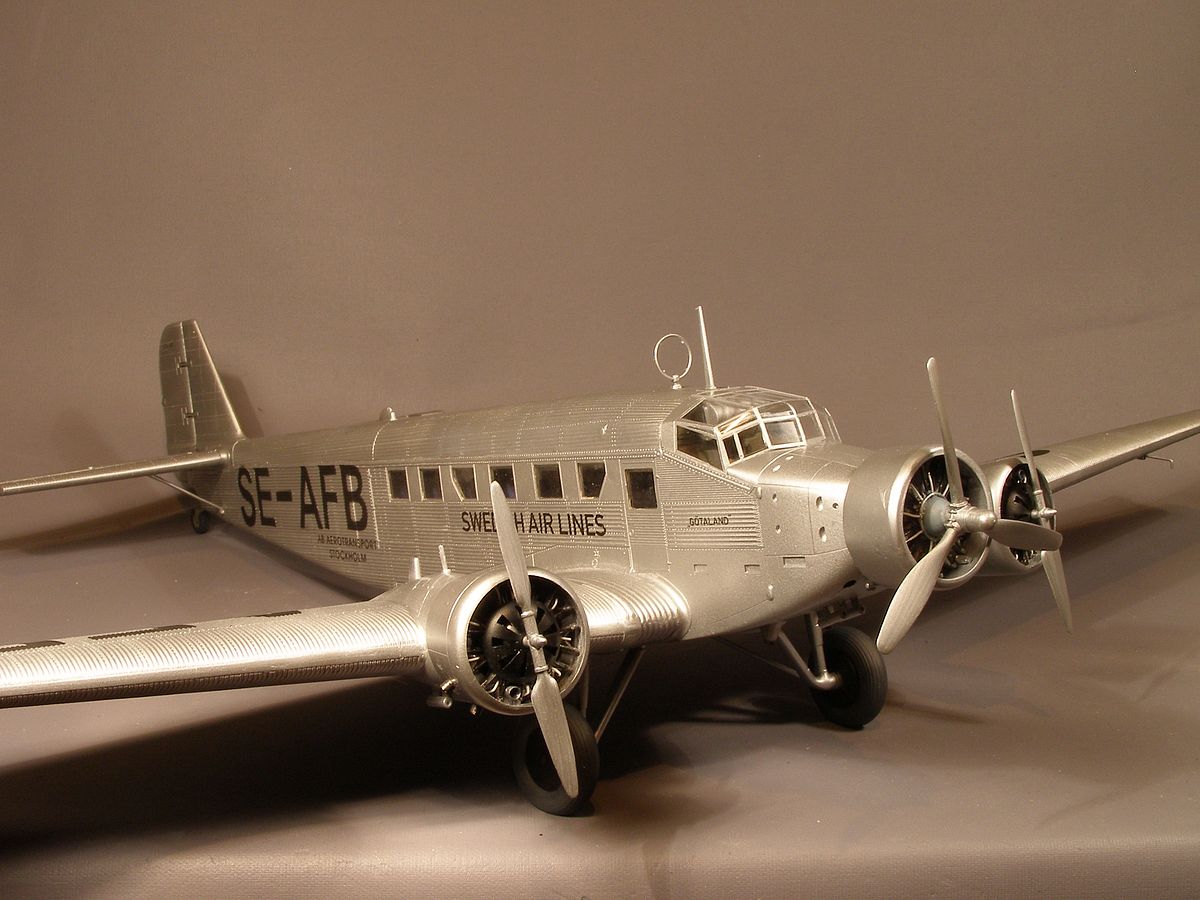
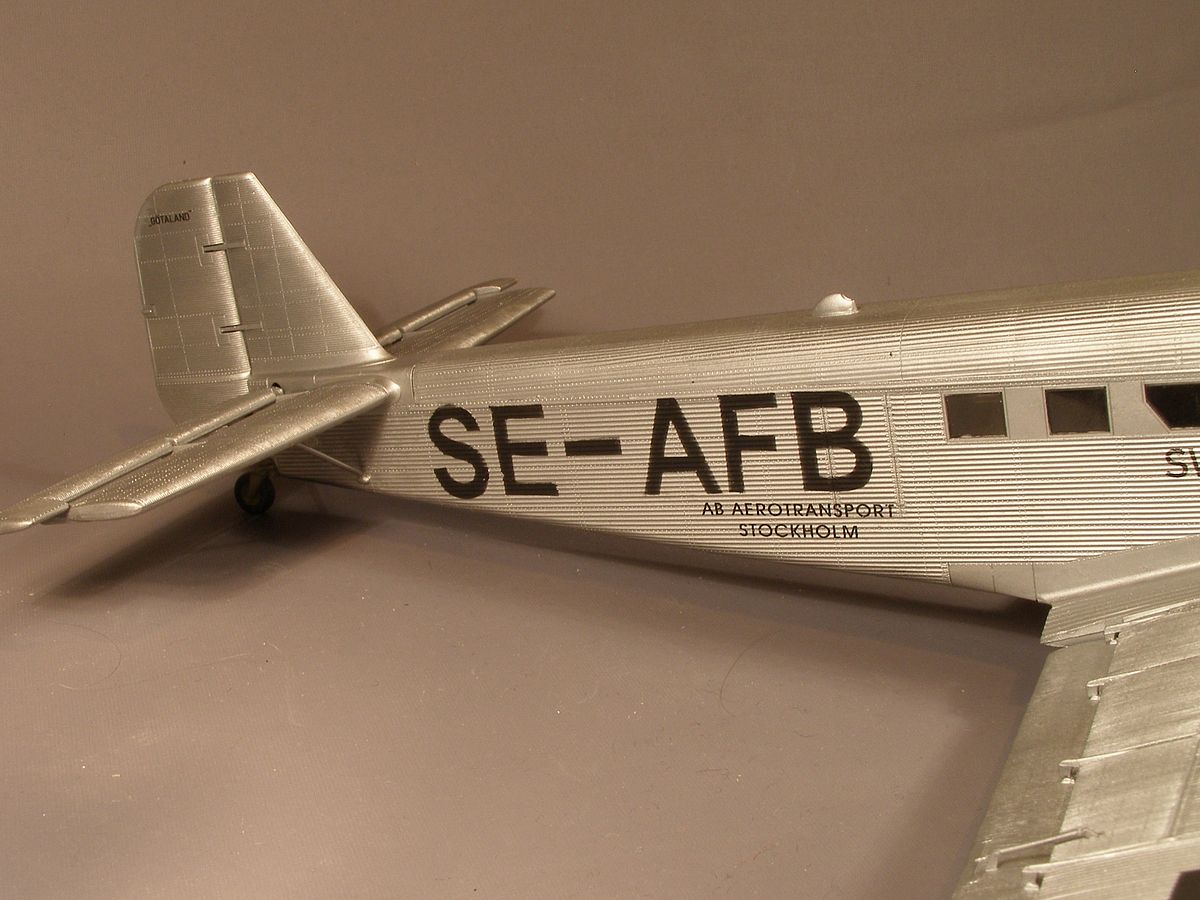
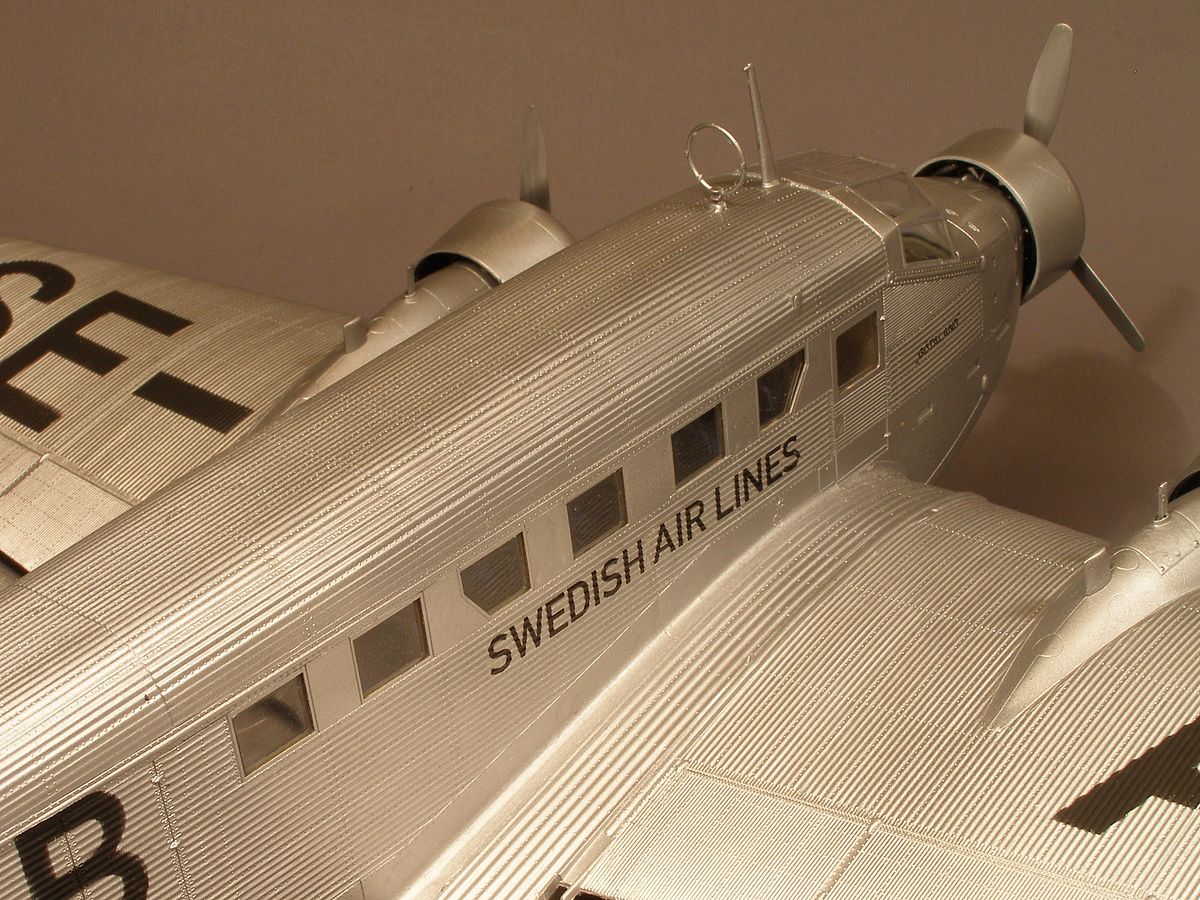
| The Revell 1/48 Ju52 is close to out of the box. I just added a wheel in the tail and a P&W Wasp central engine. As I only build in 1/72 this plane is huge. It hardly fits in the paint box and it is too big for my photo table. Handling it while building without knocking things of the table is hard. But I enjoyed this kit. |
| (Model finished 2012) |
|
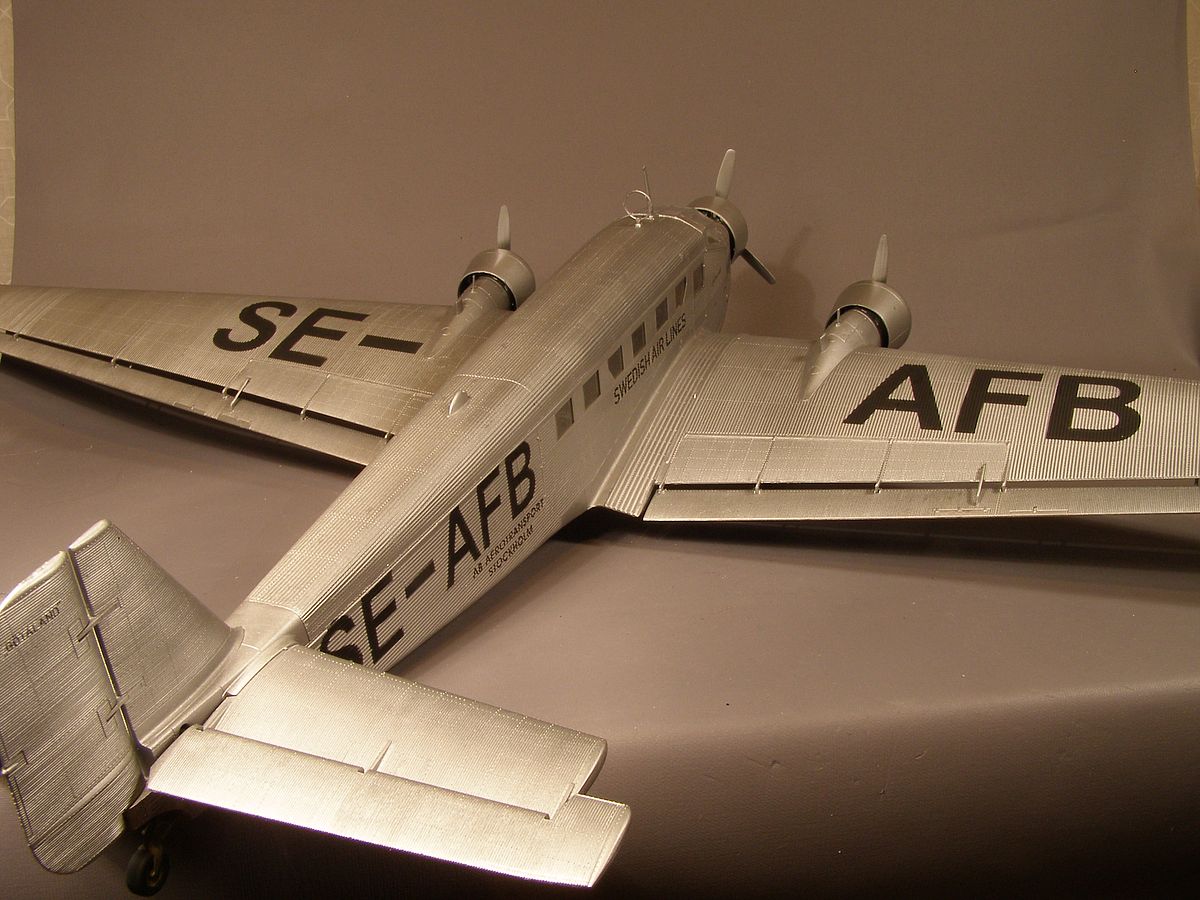
Very nice to build and it was nice to build a civilian Ju52 without the need for extensive conversions. I have wanted to build the Revell 1/48 Ju52 as a Swedish one but the engine installations on those planes hindered me. One option has been SE-AER and SE-AES who had the angled wing engines. Then I would only need new P&W engines and new long and straight engine cowling's instead of the tapered ones used by Junkers. But a question by Rob on a Swedish forum about propellers on ABA's Junkers gave me another piece in the puzzle of the Swedish Junkers. The answer he got was this: "When ABA ordered SE-AFA/B/C/D they wanted the engines located parallel to the body, unlike Junkers standard 6 degree outwardly angled engines. Finally, Junkers agreed on such an installation. However, they could not keep delivery times. As a compromise SE-AFA/B/C was delivered in autumn 1936 with Junkers standard wings with BMW engines and propellers from Jfa (Junker propellers), probably 3-blade. Centre engine was the P&W type ABA ordered with Hamilton Standard propeller. Wings and wing engines were leased from Junkers. During 1937 they gradually were flown down to Dessau and got "new" wings with parallel mounted P&W engines and Hamilton Standard propellers. The last individual, SE-AFD delivered April 30, 1937 was already built according to the ABA's specification" |
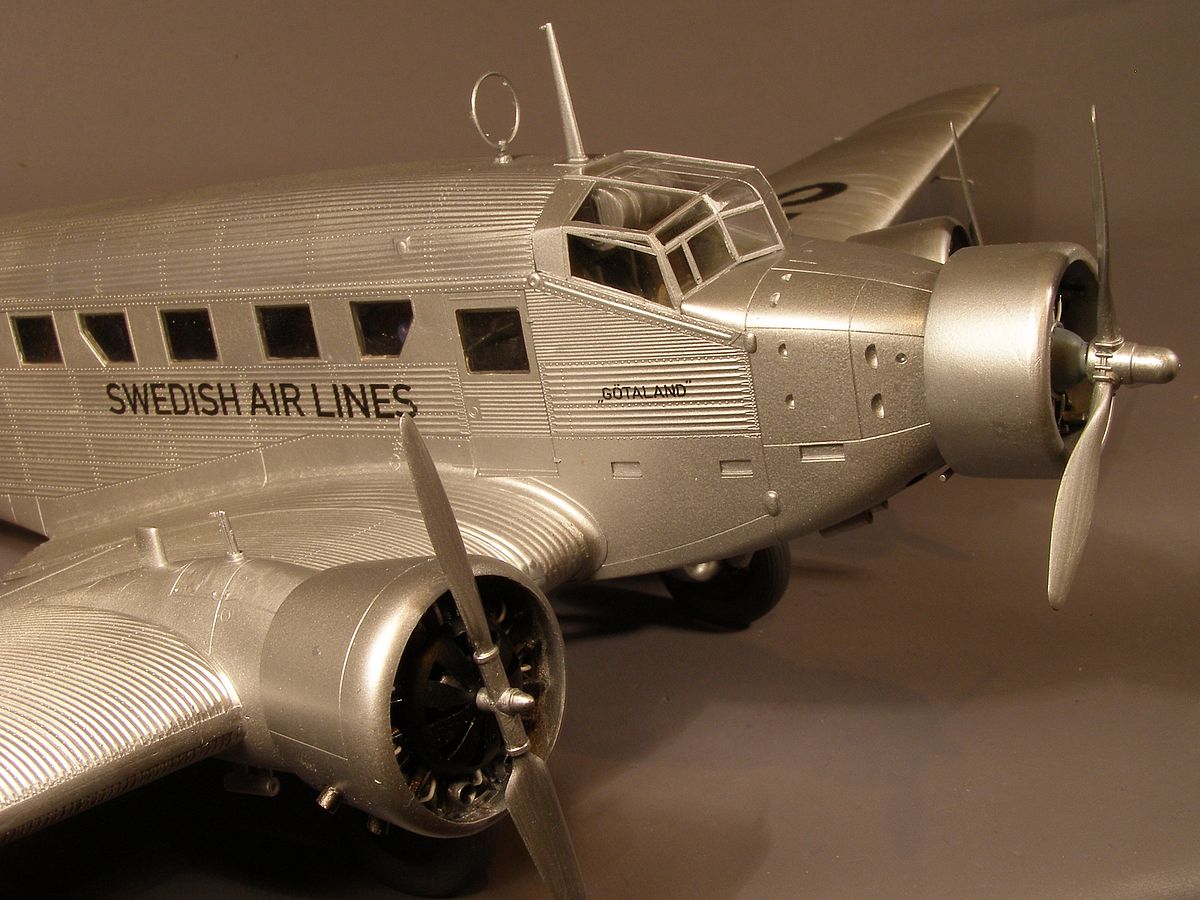
| With this information that the BMW engines was used I had a look at the few pictures I have of the planes before they were re-engined and I now saw that the wing engine had the slotted front plate that is seen on BMW engines, but the centre engine didn't have this. So now I only needed one new engine but still three new cowlings. One thing puzzled me though. On the picture the engines were running, and I could see three blades on the centre prop, but I could only see two on the wing engines. It could of course be hard to tell with the engines running. Then I looked at another picture and there it was two blades on the wing engine and three on the centre one. On this picture the engines weren’t running so no mistake here. But this picture gave me a pleasant surprise. The cowlings on the wing engines were of the tapered Junkers type. Now I was down to only one P&W engine and one new cowling. As I figured that the odds would not get better I decided to start on the kit. |
| Instead of hunting down a new engine I decided to cheat. |
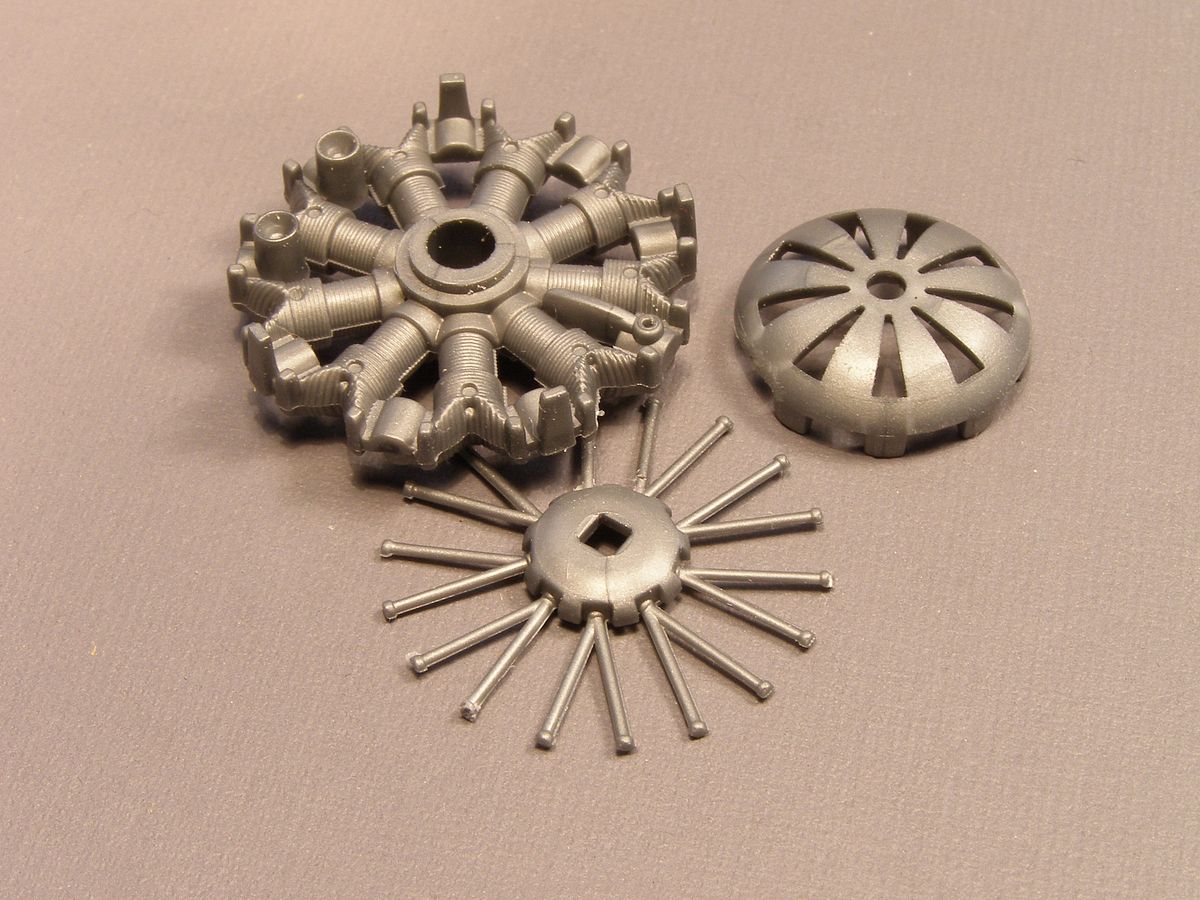
| I took the BMW engine |

| and then I cut the front of a Monogram DC-3 engine |
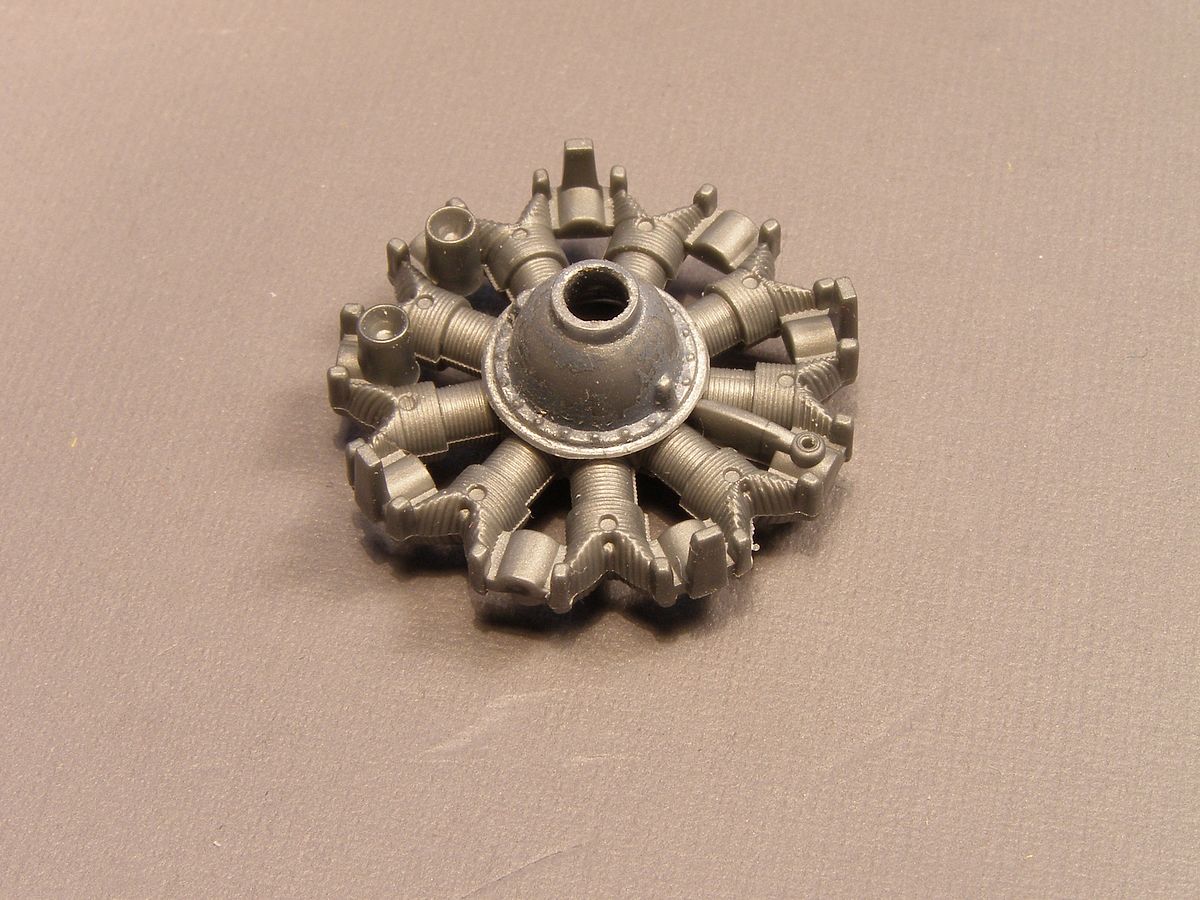
| and put that on the BMW.. |
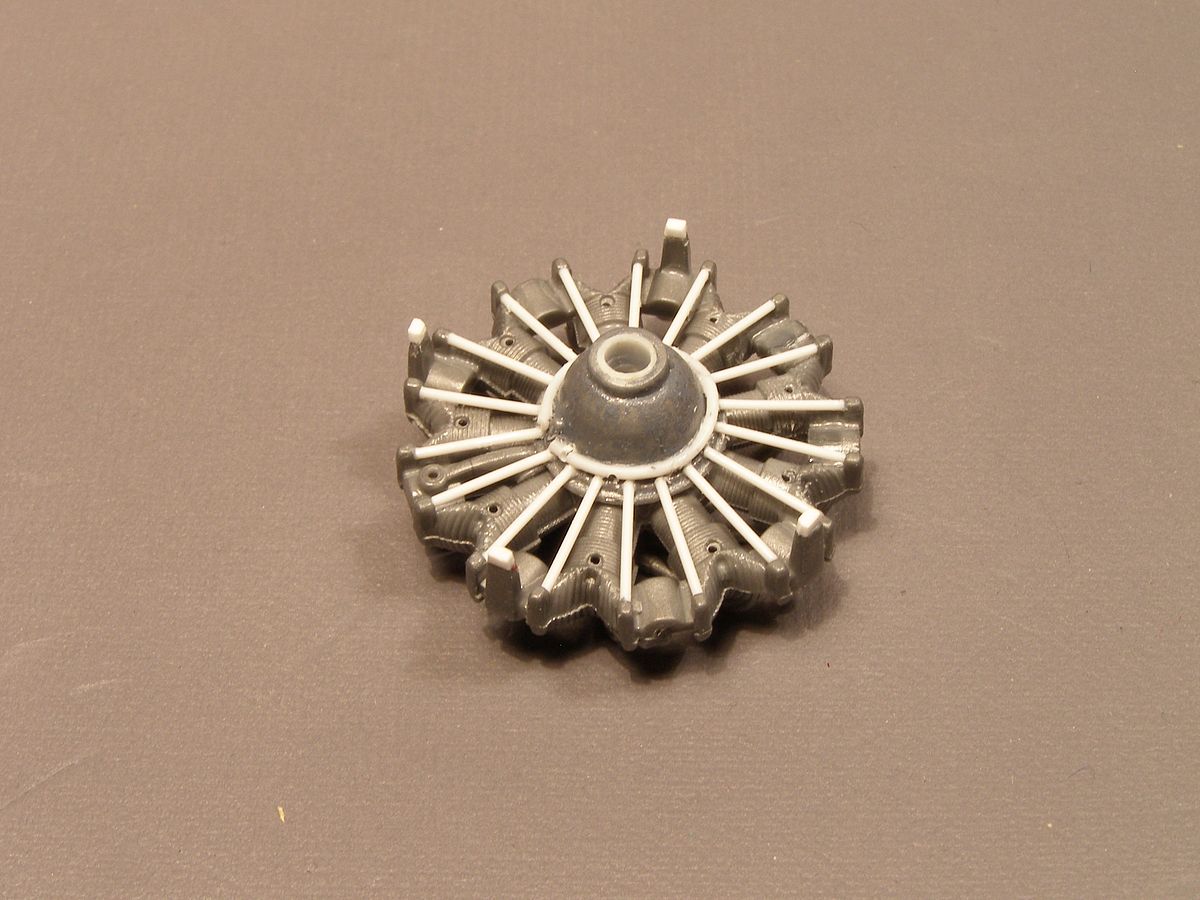
| Next, I added push rods |
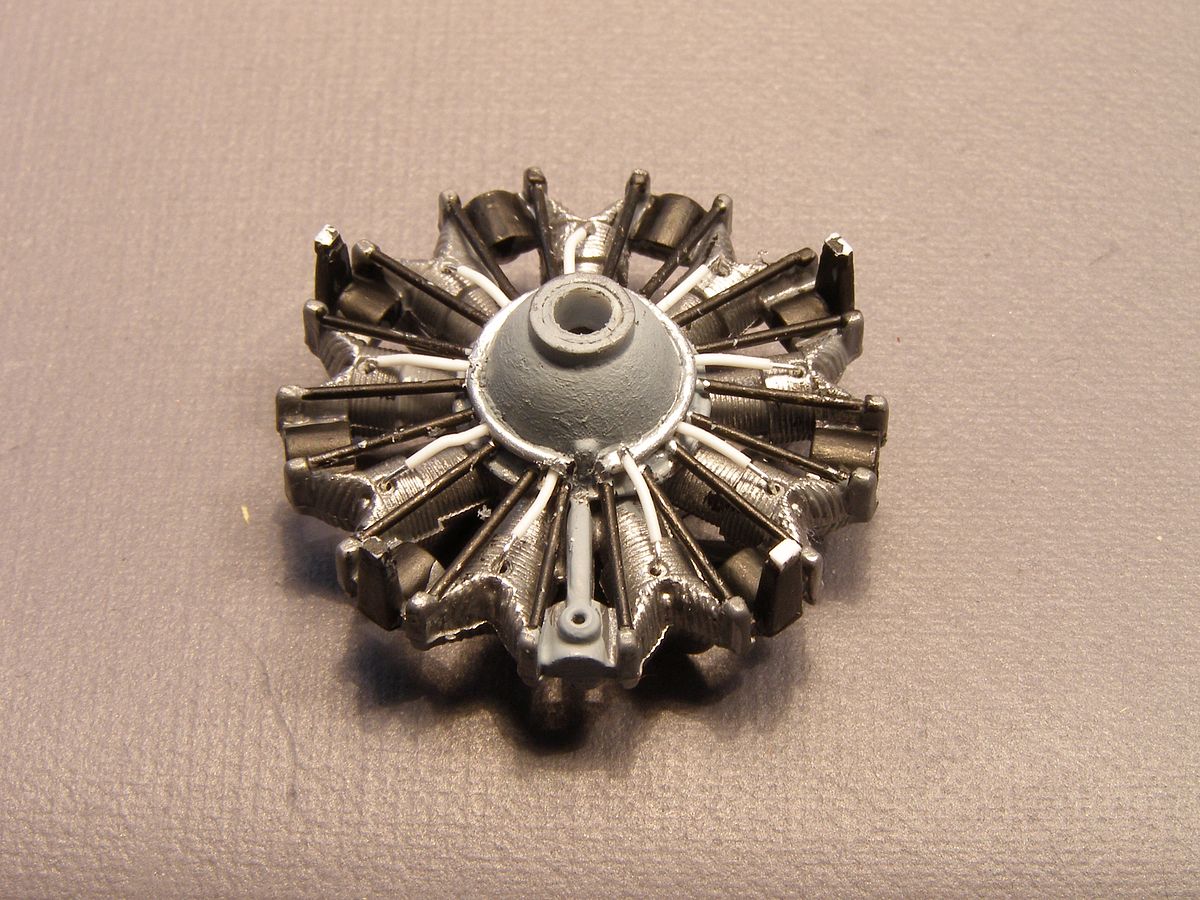
| and when I had painted it I added ignition cords. |
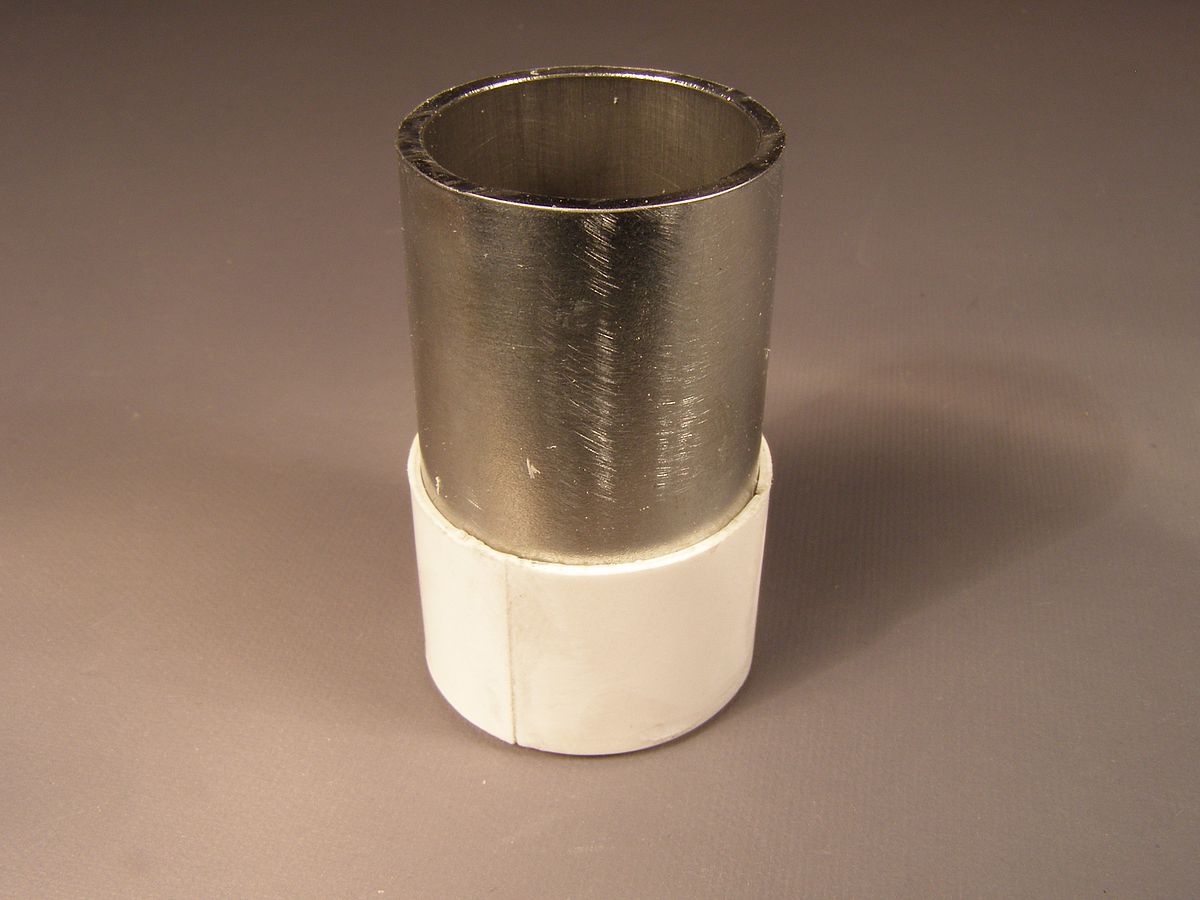
| For a new cowling I started with a metal tube. On this I glued three layers of plastic card to get a plastic tube of desired diameter. |
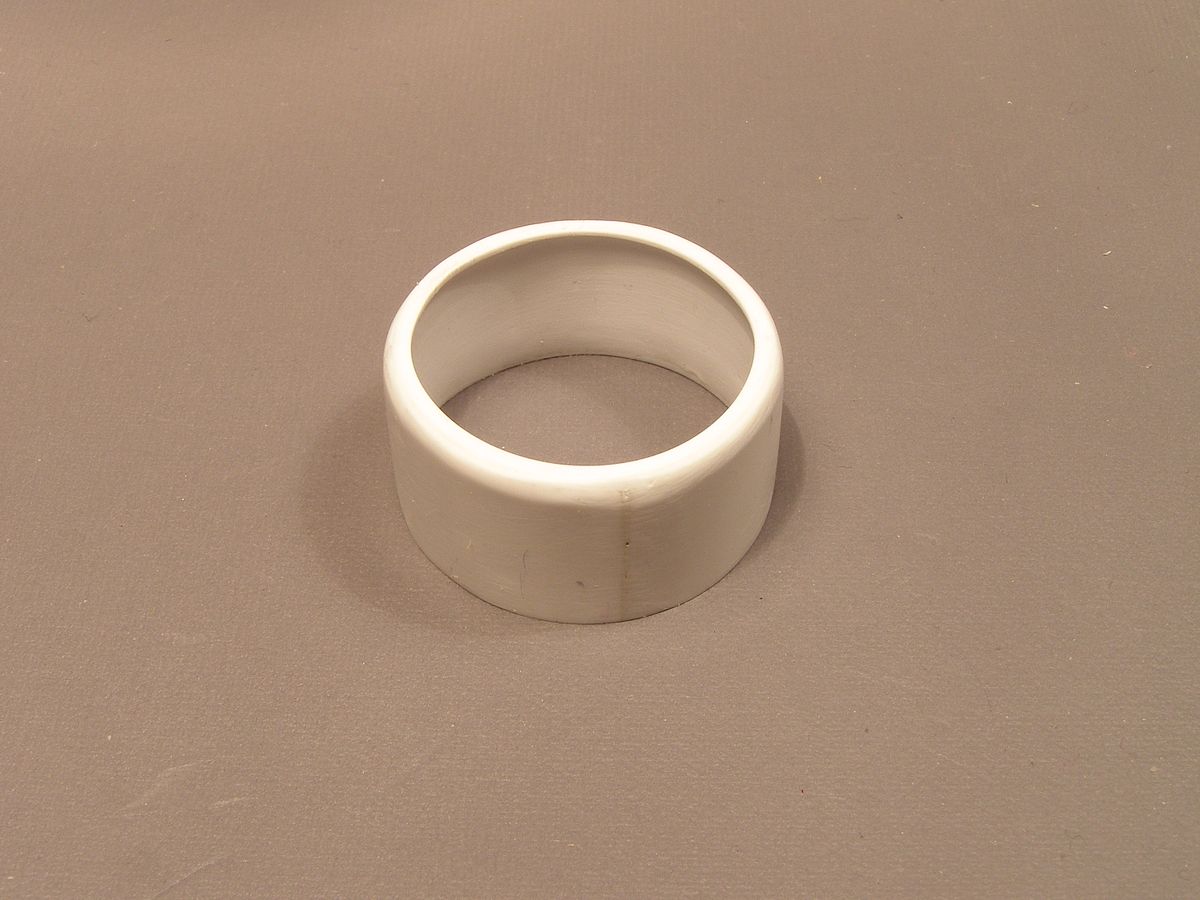
| Some plastic strips in the front to make a flange before sanding the whole thing. |
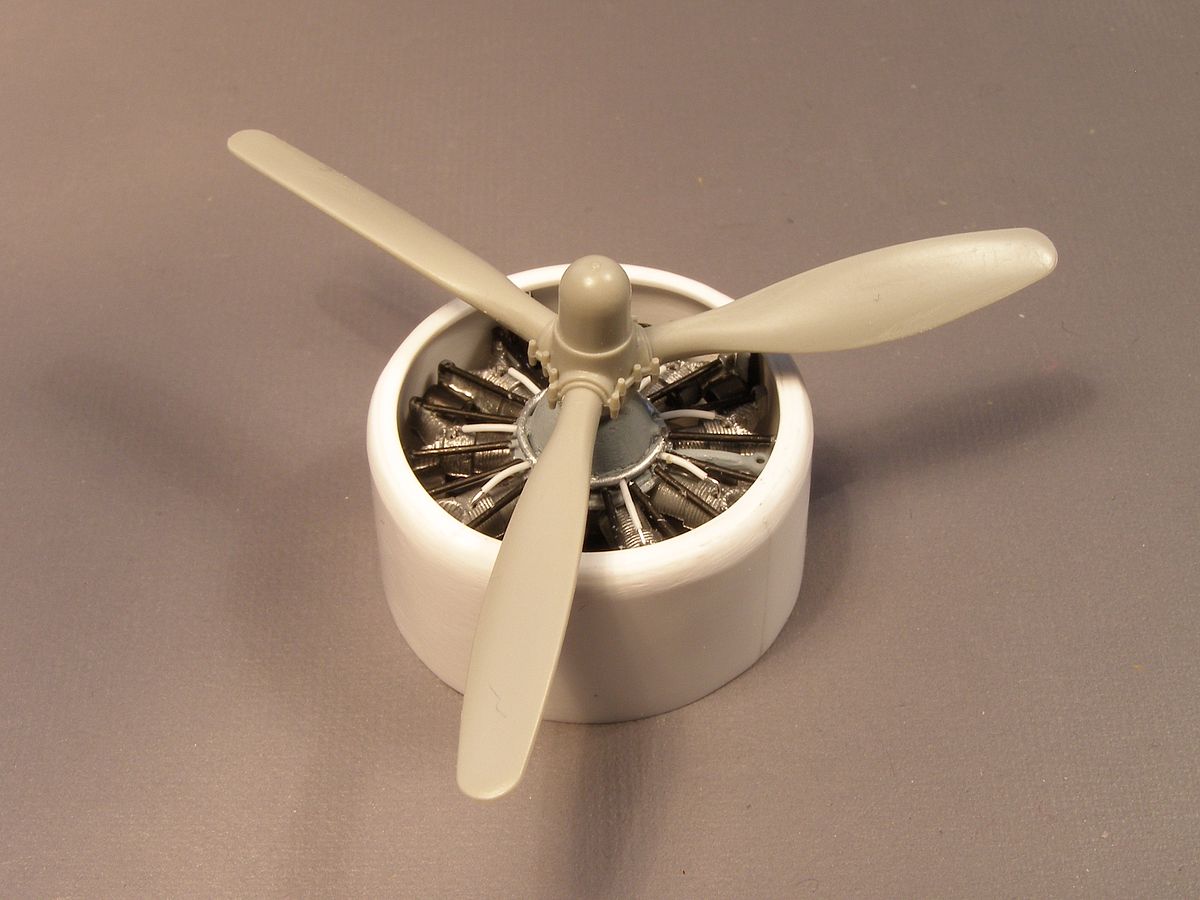
| A three-blade propeller from the new Ventura kit finish it. I read the Revell goofed with the Ventura props. Instead of the broad military type they made narrow blades so I figured that there ought to be someone out there who got aftermarket props for their kit, so I asked if someone had Ventura props not needed and an American modeller came to rescue. The rest is mostly an out of the box build but don't tell anyone that I cheated with the engine. When everything felt good I noticed that the kit had a tail skid while my model needed a wheel. Not much use in crying. Better get on and fix it. |
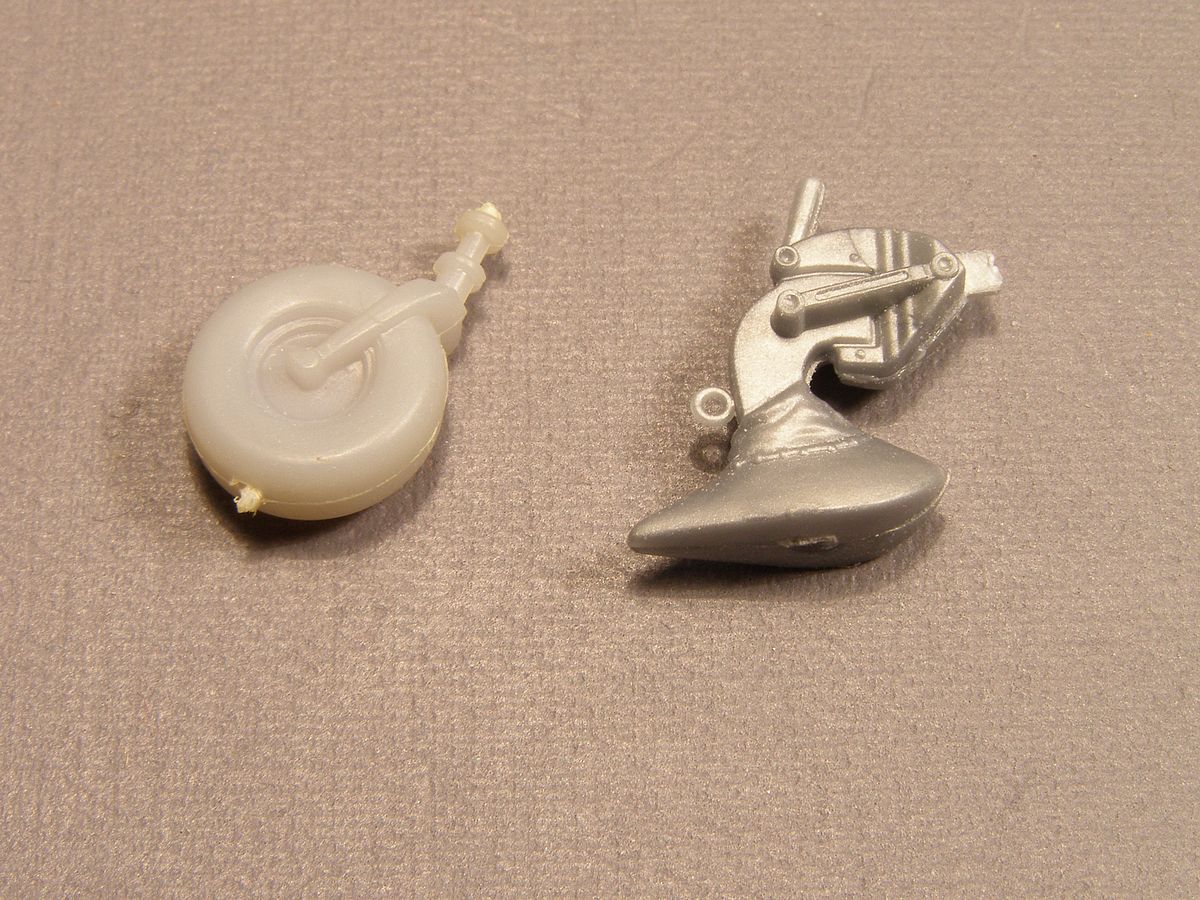
| I found a Novo 1/72 Lancaster wheel that I would try to use. Perhaps a little big but it would have to do. |
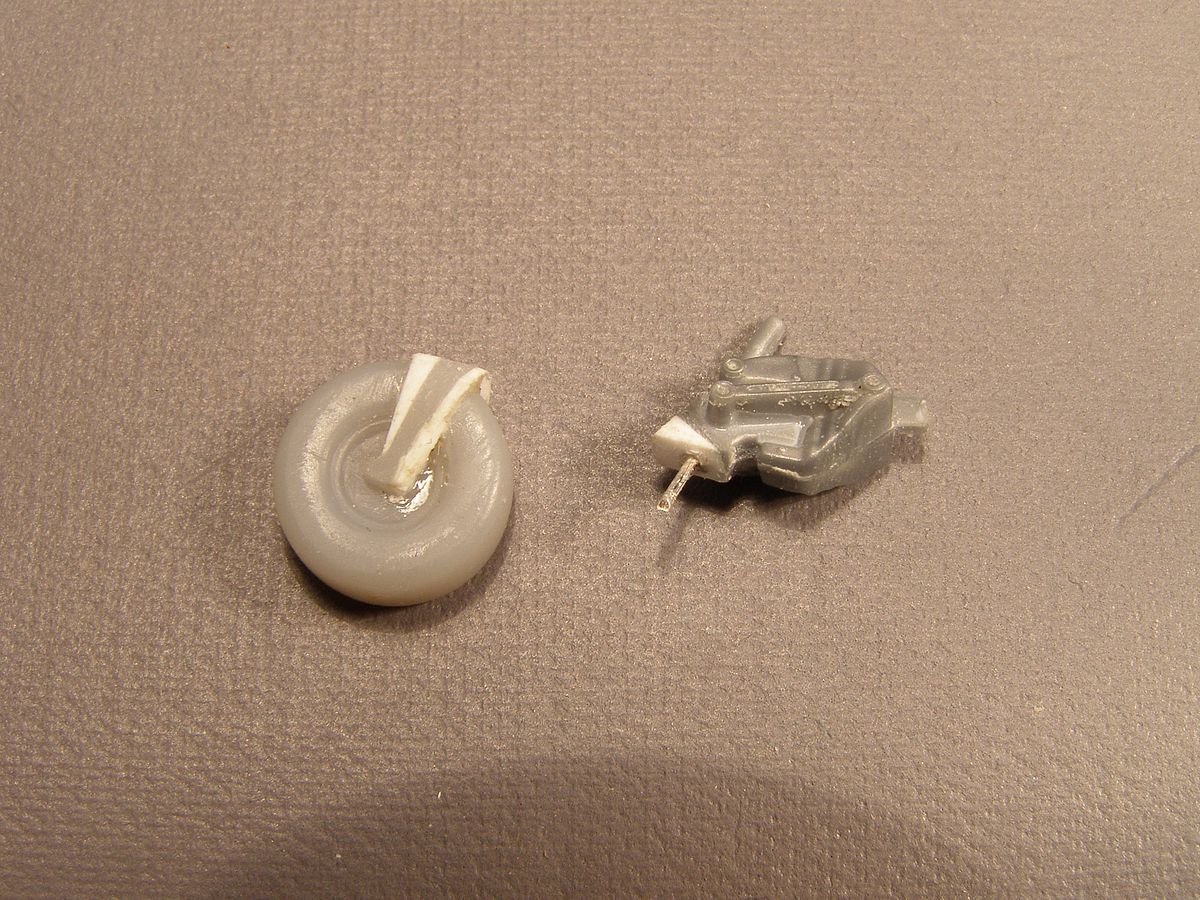
| I tried to beef up the look of it with plastic strips before I cut it and the skid in parts to mate them. I enforced the joint with metal hoping it will not break later. |
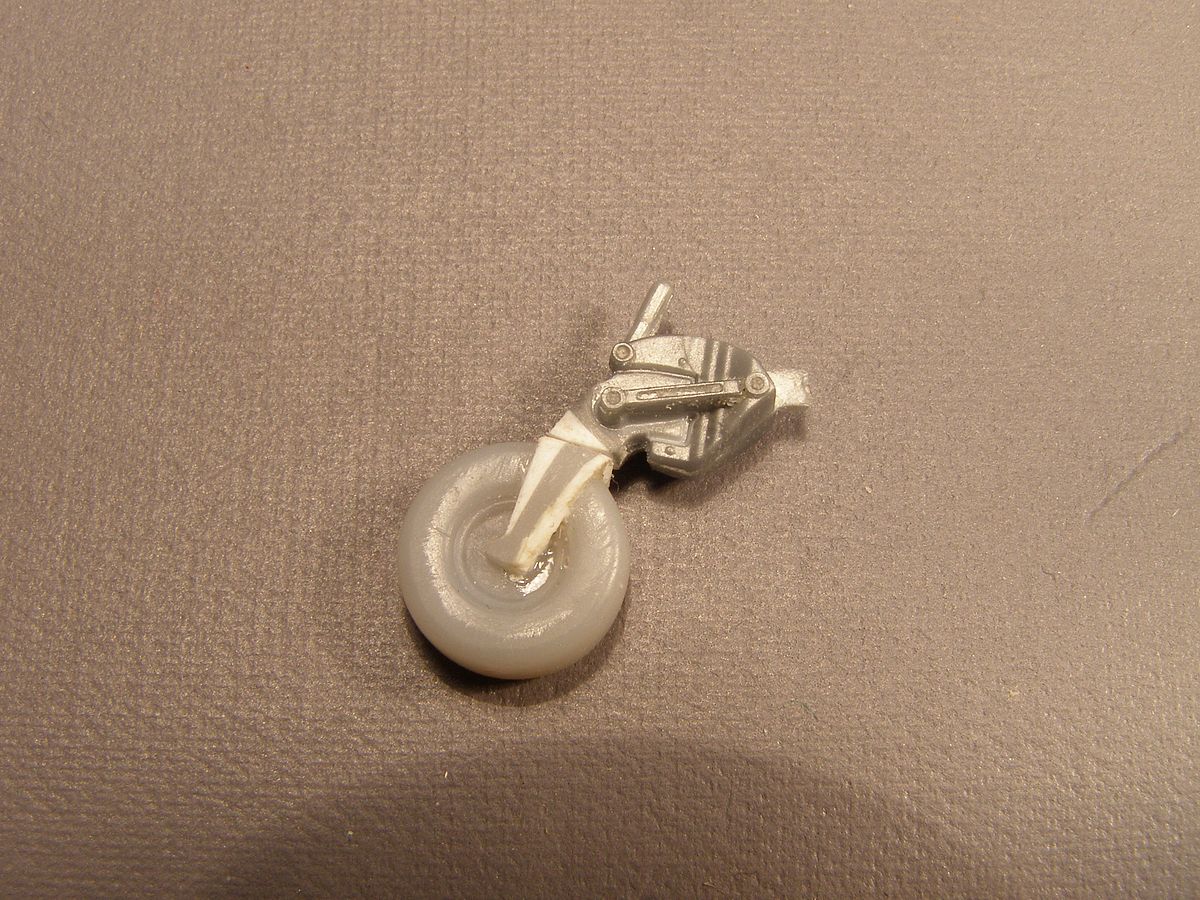
| So, this is how it will look when I glue the pieces together. As usual when it comes to me, not correct but it will have to do. I have enough problems finishing anything as it is these days. |
| Stockholm June 18, 2013 |  |
No updates |
----------------------------------------------.::. chibi models .::. military vehicles .::. automobiles .::. aircrafts .::.
miscellaneous .::.home .::.-------------------------------------------- |